


I like to think of myself as a hands-on person – except when it comes to getting my nails done (I mean a girl deserves some pampering & self-care). As a result, I’ve always cherished the services of nail artists & manicurists since I wanted nothing to do with taking care of my nails by myself. Fast forward to 2020 (you know it), the “Rona” hit and nail appointments went extinct leaving most of us scrambling to figure out alternatives.
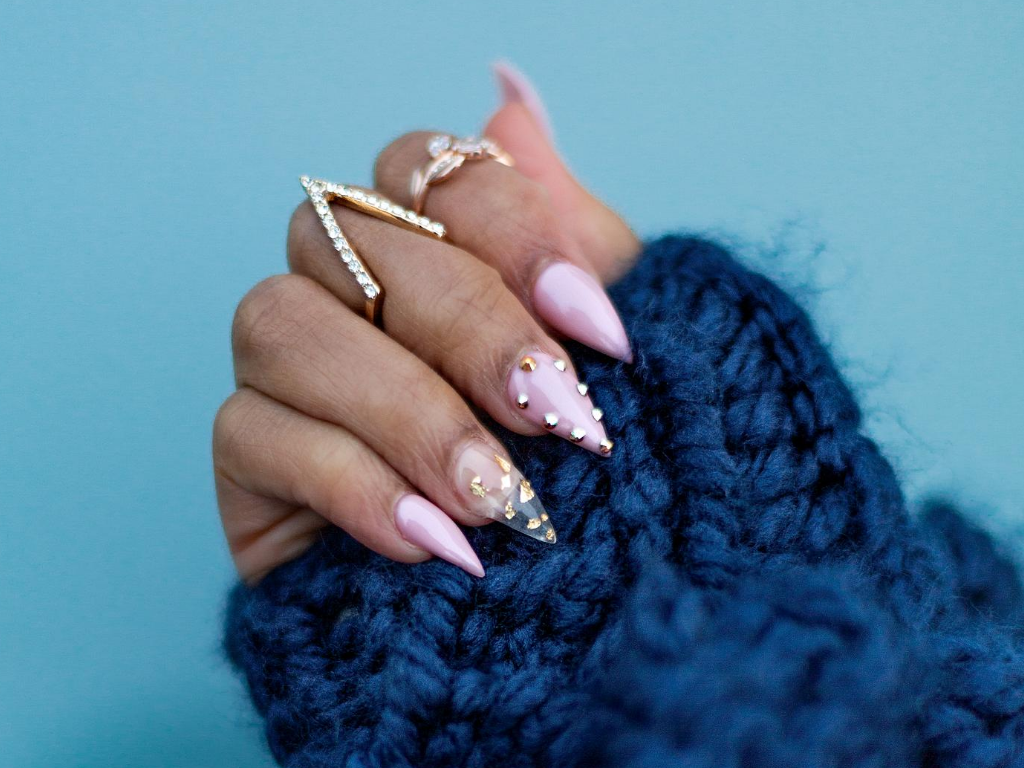 Then press-on nails came back to the limelight and I had no option but to indulge in some beauty DIY (so glad I did). The first concern was the incorrect notion I had that press-on nail designs wouldn’t appeal to me. I don’t know about you but my introduction to press-ons were the sets I saw at drugstores and those just didn’t appeal to me (to each his own – one man’s meat is another’s poison as they say). Contrary to that notion though, there are lots of gorgeous “ready to purchase” designs that I later discovered through sites like Etsy.com, and even on Instagram.
Whatever your taste, there’s a press-on design for it. You can actually order pre-set designs online or you can order custom made ones (it’s also a great way to support nail artists/ small business owners during these times we find ourselves in). The best part is they’re so easy to apply. I tried it myself and here’s my application process (you can also watch the below video demonstration).
View this post on Instagram
How to use press-on nails
1. Prep your own nails
Push back cuticles, remove any existing nail polish and thoroughly clean your nails.
2. Apply nail glue
Press-on kits usually include nail glue. Apply a small amount at the centre of a given fingernail (see the below video demonstration)
3. Apply the press-on
Once you’ve applied glue, follow up by applying the press-on nail and then press on the nail to apply pressure. I usually start out at the centre and then distribute the pressure.
Have you tried press-on nails/ would you?